Point
-
Error 메세지 확인
- Error 메세지를 먼저 확인하고 어떠한 문제가 발생했는지 확인하는 습관을 기르자.
-
Log 메세지 확인
- Debug를 통해 더 자세한 Flow와 logging을 확인하자
SpringBoot
웹 애플리케이션이지만 내장 톰캣을 이용하여 자바 애플리케이션으로 실행 가능합니다. 서버와 웹에 필요한 많은 설정을 자동으로 처리해주기 때문에 쉽고 빠르게 웹 애플리케이션을 구현할 수 있습니다.
1. 과제 (Spring Petclinic Project)
- firstName으로 검색
- firstName의 일부만 맞아도 검색 가능
- owner에 age 항목 추가
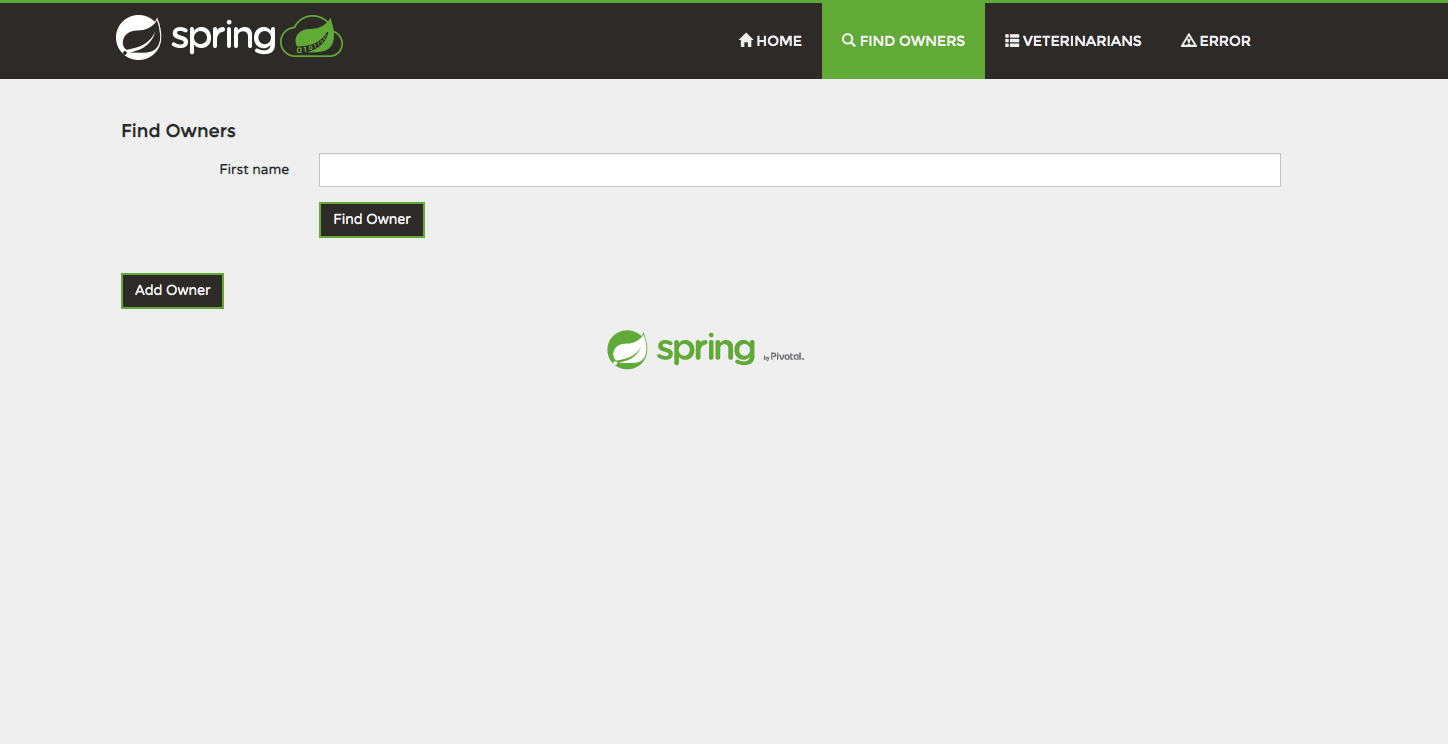
1-1. firstName으로 검색
-
Console 창에서
GET "/owners/find", parameters={}을 통해 flow 확인 -
return "owners/findOwners";View 확인- last name -> First name 변경
- Find Owner 버튼의 Controller Mapping 찾기
-
@GetMapping("/owners")을 통해 매핑된 메소드의 owner 객체lastName( ) -> FirstName( )수정-
Ex)
this.owners.findByLastName(owner.getLastName());this.owners.findByFirstName(owner.getFirstName());
-
-
OwnerRepository(DAO) 수정
@Query("SELECT DISTINCT owner FROM Owner owner left join fetch owner.pets WHERE owner.firstName LIKE :firstName%")
    @Transactional(readOnly = true)
    Collection<Owner> findByFirstName(@Param("firstName")String firstName);
1-2. firstName의 일부만 맞아도 검색 가능
@Query("SELECT DISTINCT owner FROM Owner owner left join fetch owner.pets WHERE owner.firstName LIKE %:firstName%")
    @Transactional(readOnly = true)
    Collection<Owner> findByFirstName(@Param("firstName")String firstName);
:부분 역시 값으로 처리
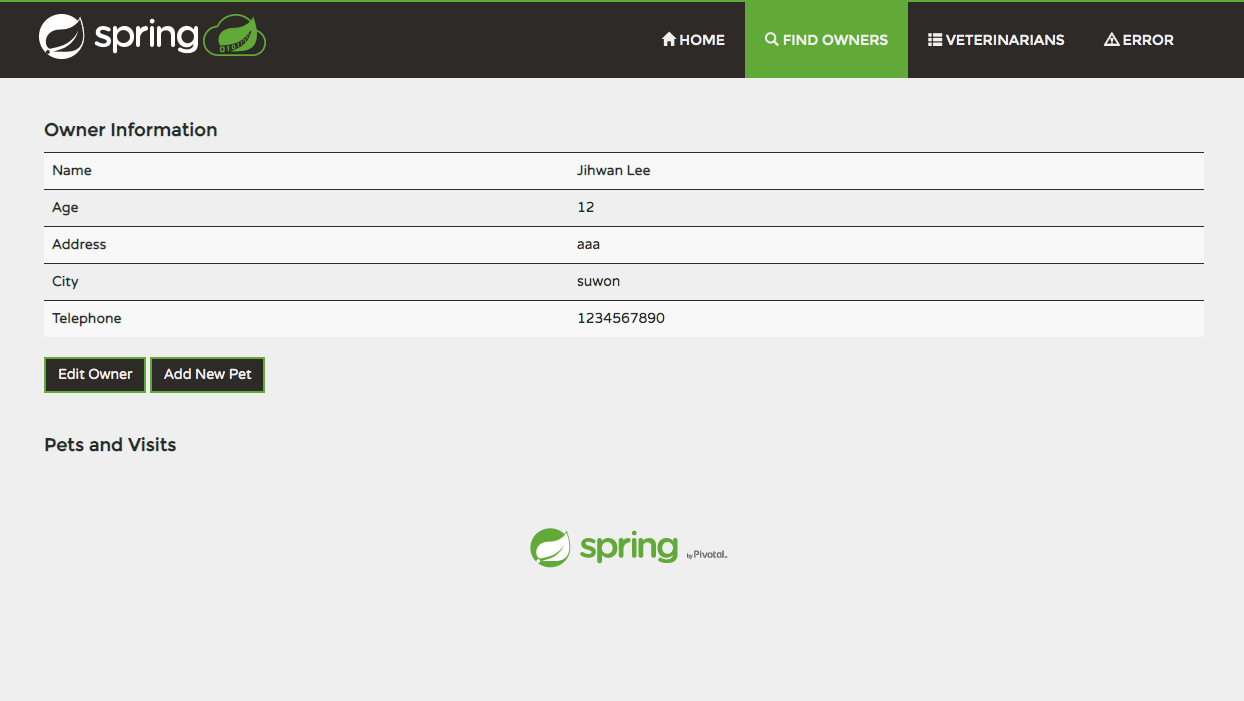
1-3. owner에 age 항목 추가

- Owner 클래스에 age 추가
private Integer age;

public Integer getAge() {
      return age;
}
- DB Schema age 컬럼 추가
CREATE TABLE owners (
  id         INTEGER IDENTITY PRIMARY KEY,
  first_name VARCHAR(30),
  last_name  VARCHAR_IGNORECASE(30),
  age        INTEGER,
  address    VARCHAR(255),
  city       VARCHAR(80),
  telephone  VARCHAR(20)
);
-
data.sql
- 값 입력시 생성한 age 컬럼의 데이터를 추가
INSERT INTO owners VALUES (1, 'George', 'Franklin', 20,'110 W. Liberty St.', 'Madison', '6085551023');
주의사항
Create 컬럼 순서와 Insert시 values 데이터 값의 순서와 동일해야 합니다.
화면 속성 추가
- createOrUpdateOwnerForm.html
<form th:object="${owner}" class="form-horizontal" id="add-owner-form" method="post">
    <div class="form-group has-feedback">
      <input
        th:replace="~{fragments/inputField :: input ('First Name', 'firstName', 'text')}" />
      <input
        th:replace="~{fragments/inputField :: input ('Last Name', 'lastName', 'text')}" />
    <input
        th:replace="~{fragments/inputField :: input ('Age', 'age', 'text')}" />
      <input
        th:replace="~{fragments/inputField :: input ('Address', 'address', 'text')}" />
      <input
        th:replace="~{fragments/inputField :: input ('City', 'city', 'text')}" />
      <input
        th:replace="~{fragments/inputField :: input ('Telephone', 'telephone', 'text')}" />
    </div>
    <div class="form-group">
      <div class="col-sm-offset-2 col-sm-10">
        <button
          th:with="text=${owner['new']} ? 'Add Owner' : 'Update Owner'"
          class="btn btn-default" type="submit" th:text="${text}">Add
          Owner</button>
      </div>
    </div>
  </form>
- ownerDetails.html
<table class="table table-striped" th:object="${owner}">
  <tr>
    <th>Name</th>
    <td><b th:text="*{firstName + ' ' + lastName}"></b></td>
  </tr>
<tr>
    <th>Age</th>
    <td th:text="*{age}" /></td>
</tr>
  <tr>
    <th>Address</th>
    <td th:text="*{address}" /></td>
  </tr>
  <tr>
    <th>City</th>
    <td th:text="*{city}" /></td>
  </tr>
  <tr>
    <th>Telephone</th>
    <td th:text="*{telephone}" /></td>
  </tr>
</table>
Result
2. IoC 컨테이너
Bean을 만들고 기능에 따라 연결하여 제공합니다. 의존성 기능을 부여했다면 등록된 Bean 객체를 주입할 때 정확하게 Spring의 IoC 컨테이너가 주입해주는 기능을 합니다.
Bean 등록 확인
- IntelliJ 코드 왼편
콩모양
ApplicationContext 에 등록된 모든 Bean 을 가져올 수 있습니다.
IoC 컨테이너는 ApplicationContext에 등록된 Bean을 자동으로 의존성을 주입시켜주며 이는 다음과 같은 코드로 확인할 수 있습니다.
private final OwnerRepository owners;
    private final ApplicationContext applicationContext;

    public OwnerController(OwnerRepository clinicService,ApplicationContext applicationContext) {
        this.owners = clinicService;
        this.applicationContext=applicationContext;
    }

    @GetMapping("/bean")
    @ResponseBody
    public String bean() {
      //의존성을 직접 주입하는 것이 아니라 IoC컨테이너가 Owners의 코드처럼 직접 Bean으로 등록된 owners를 주입
        return "bean : " + applicationContext.getBean(OwnerRepository.class) + "\n"
            + "owners : " + this.owners;
    }
결과
같은 해쉬 값을 가지는 것을 @ResponseBody로 인해 웹페이지 상에서 확인할 수 있습니다.

Reference
'TIL' 카테고리의 다른 글
| 20190517_모듈패턴 및 JSON 기초 (0) | 2019.05.18 |
|---|---|
| 201910516_예제로 배우는 스프링 입문 2 (0) | 2019.05.17 |
| 20190512_RestAPI 기초 개념 설정 (0) | 2019.05.15 |
| 20190410 [mac] 깃허브(Github) remote:Permission to 에러 (183) | 2019.04.10 |